Creating an Outing
The key to a good Outing starts with understanding the role Outings play in OuterSpatial. They are designed to give your organization a way to generate routes and associated stops for walking tours, hikes, running routes, and more.
Planning
To create an engaging Outing, you first need to get organized. The content and data you may need to gather include photos, a list of Points of Interest you want to use as Stops, and any geospatial data you want to reference during the creation of your Outing.
Create your Outing
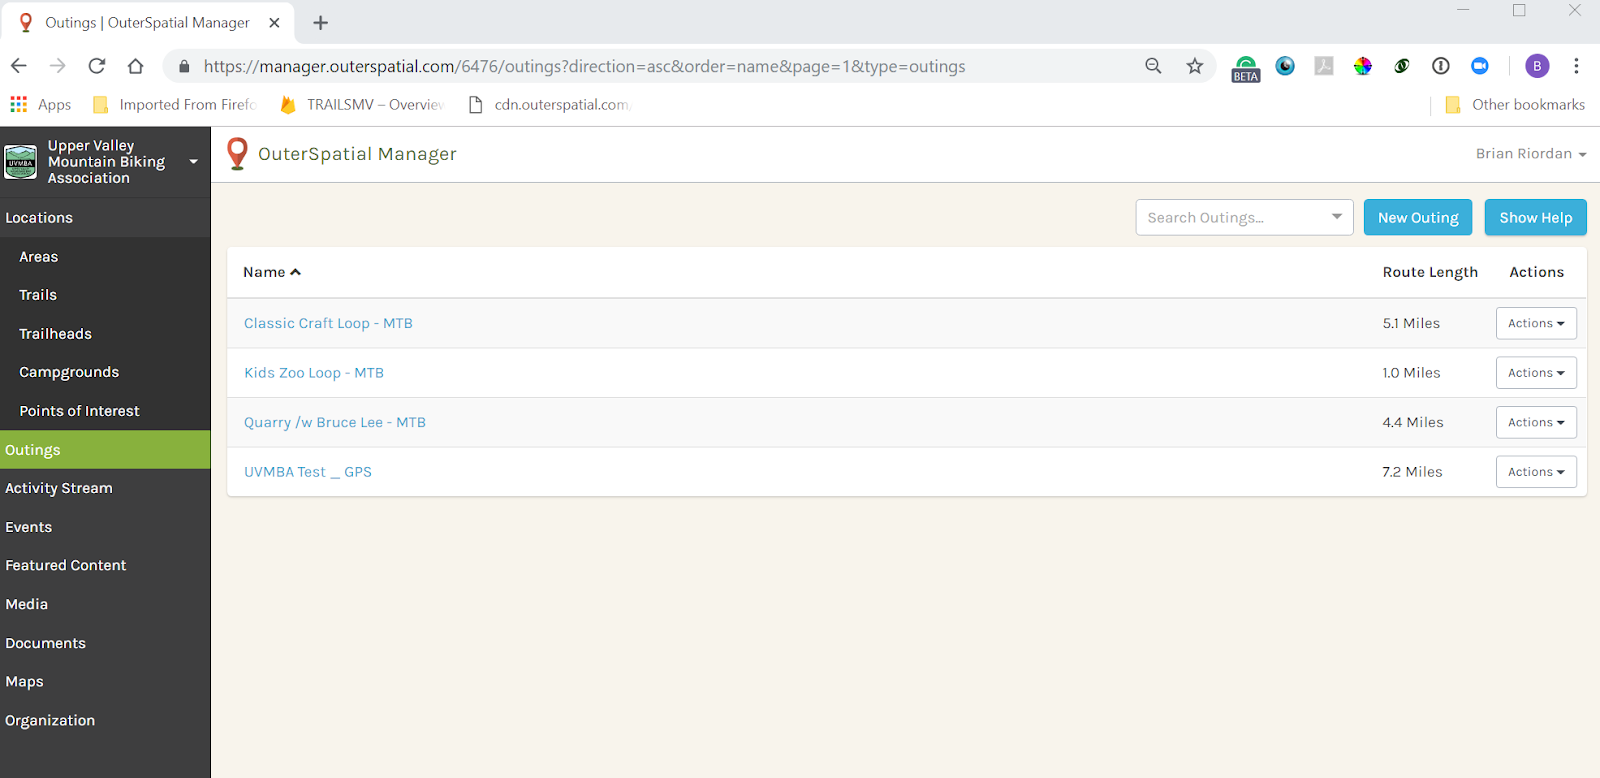
Click on the Outings tab in Manager's left-hand menu to get to the Outings section. Click on the "New Outing" button to open the create form.
Here's a breakdown of the Outings form. The numbers highlighted are referenced below the screenshot to add more detail.

- This is the "Featured Image" for your Outing. Make sure you choose a beautiful image that will engage your visitors.
- This is the "Name" of your Outing. Make it short and succinct, yet descriptive.
- Add a detailed "Description" of the Outing. Let your creativity flow here and do not spare any details.
- You can manually add a "Display Length" if you want to override the default length that displays for your Outing (the length in miles based on the Route). You may want to override this to use a time-based length like "Half-day" or if you've published a length for an Outing in a brochure or handout and want the length that displays for your Outing to match it.
- Use these buttons to "Save" or "Delete" the Outing that's currently open.
Building the Route
After you Save the Outing form, you'll be taken to the Route edit screen. The map will automatically zoom to the bounds of your the community your organization is part of. Pan and zoom the map to the area where you'd like to build your Outing.
To start building your Outing's route, select the "+" button in the upper, left-hand corner of the map.

Continue clicking on the map to add more vertices to your route.

Adding a new "Stop" is simple. Just un-click the + button and click anywhere on the screen. A popup will display, as shown above.\

Once you add a Stop to the route, you need to provide details for it. A Stop is a location you want to highlight along you Outing, so try to sell it! If the Stop is attached to an existing Point of Interest like a Trailhead, Campground, or Scenic Viewpoint, the underlying information for the Point of Interest will automatically populate.
There are a number of editing tools available to help while you create your Outing route and associated Stops.
1) The "+" button adds a new vertices to your Outing's route.

2) The "Pencil" button allows you to move vertices that are already in place. This is the best way to build longer routes. Right-clicking on a vertices will remove it.

3) The "Find a Location" tool can be used to find and zoom to addresses, zip codes, and place names.
4) This is the location where the Stops you create will be populated in a running list in the order you created them. An Outing is limited to fifty Stops.
5) If you have no tool selected and you click on the map, you will get the Stop creation tool. This can be used to create Stops along the route that are not attached to an existing Point of Interest.

Publish Your Outing
When you're finished with your Outing route, simply un-click the "+" button and then click the "Save" button. The Outing is now published!
